The
Enzyme-Linked
ImmunoSorbent
Assay is a serological test that can be used to detect particular antigens or antibodies.
An ELISA assay such as the one you will do in this lab would be used to diagnose HIV infection by detecting the presence of antibodies to HIV.
Several ELISA methods exist: their difference resides in the sequence in which antigens and antibodies are added to a solid substrate (96-well plate or a micro-well strip).
An Antigen capture assay
- Primary antibody is fixed onto the plastic wells.
- Antigen is captured by the immobilized primary antibody
- And the captured antigen is detected by a secondary antibody, also conjugated to HRP,
- That turns the assay solution blue upon reaction with TMB.
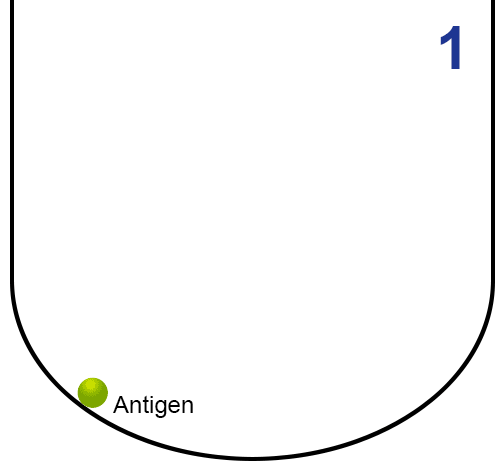
- Antigen is first bound in the plastic wells.
- Then, the primary antibody binds to (or is captured by) the immobilized antigen.
- A secondary antibody (conjugated to the enzyme horseradish peroxidase (HRP)) is added, and binds to the first antibody.
- The substrate 3,3’,5,5’-tetramethylbenzidine (TMB) is added. HRP reacts with TMB (chromogenic reagent) and gives a blue colour which can be quantified.
How it works:
 |
